Click to follow a walk through as a different form of training and awareness: https://app.storylane.io/share/wzfzu3fr9zdi
Purpose:
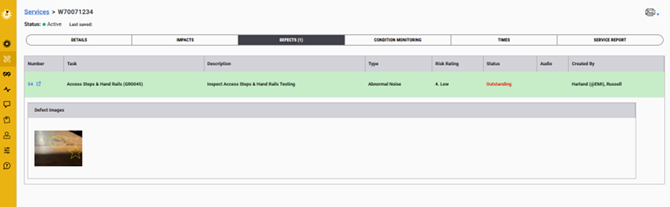
To present the defects that have been registered during the services. This enables you to search by the filter options or the search field to access the reported defects and to help understand the condition of the fleet.
Process:
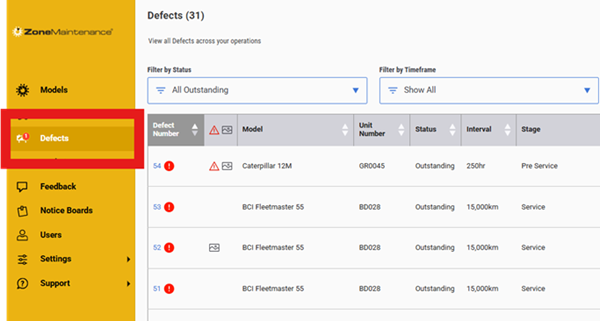
1. Defect List
View the Defects list.
Utilise the filters or search options to refine the list.
Details listed at the top of the screen
– Status
– Last saved
– Created by with a date and time

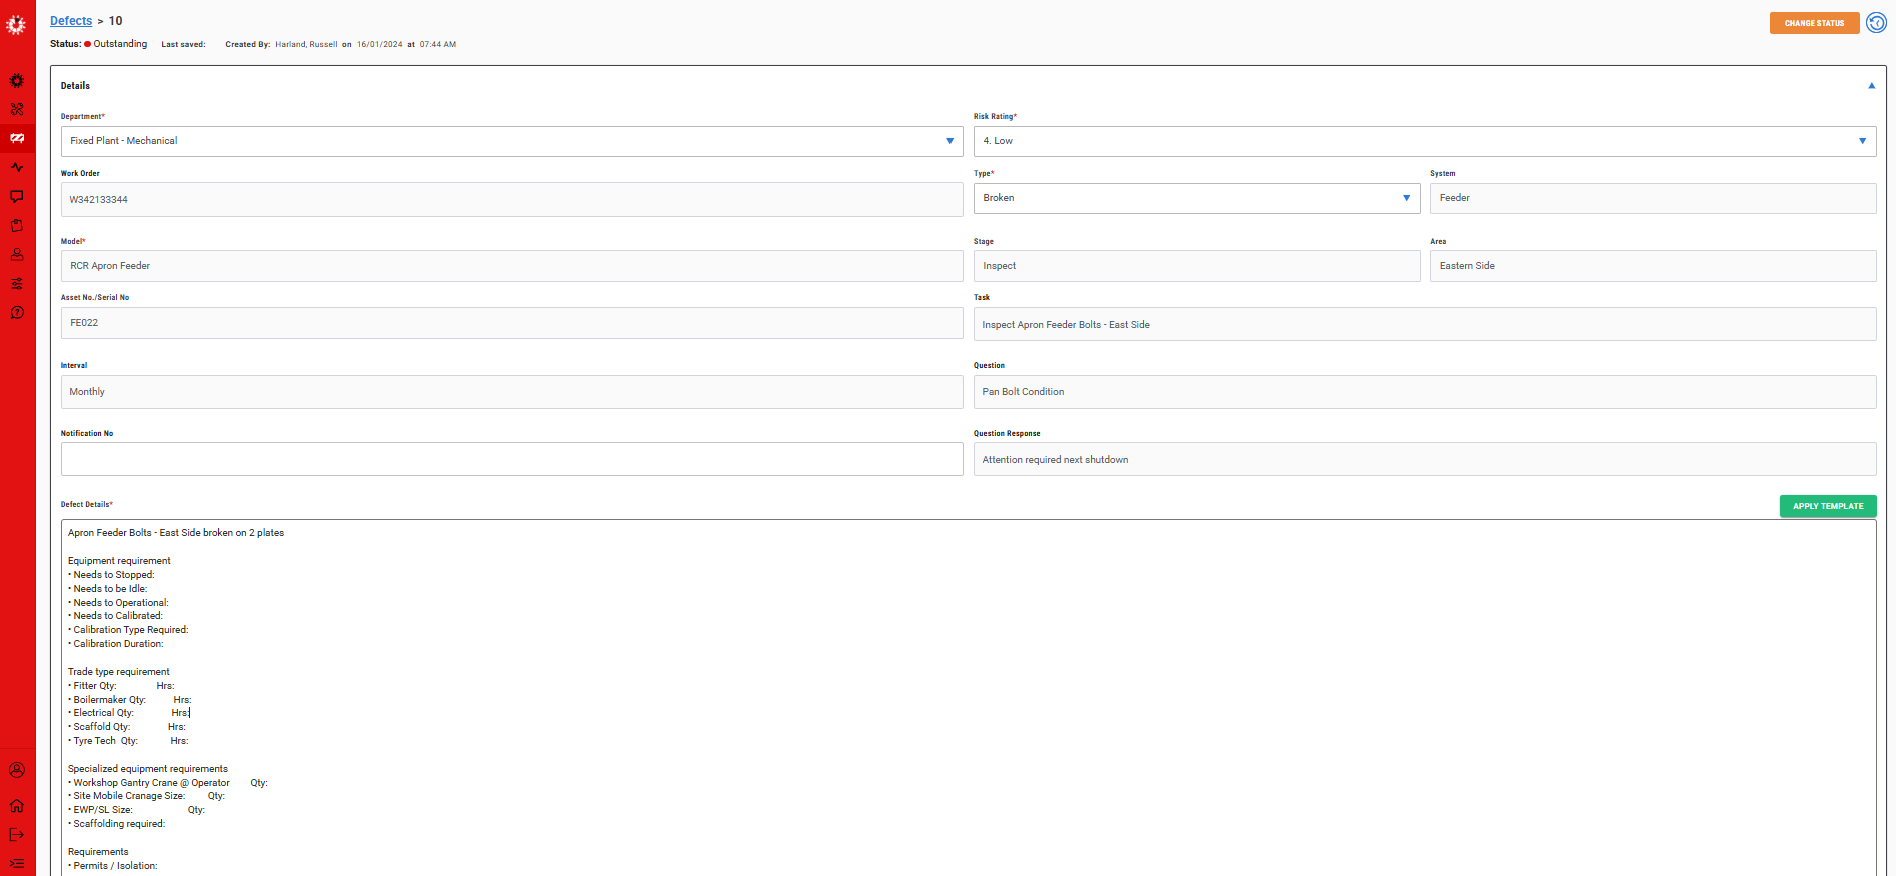
2. Details
Details about the Defect is listed based on the end users evaluation.
Images can be viewed.
Parts added or can be added to this Defect.
Notes can be added.
If the Finding Template has been applied in Site Application Settings/Findings/Template you will also see the template text in the details box. If not click on the Apply Template button to the far right of the details box.

3. Change Status
Click on the change status button top right of screen to present pop up.

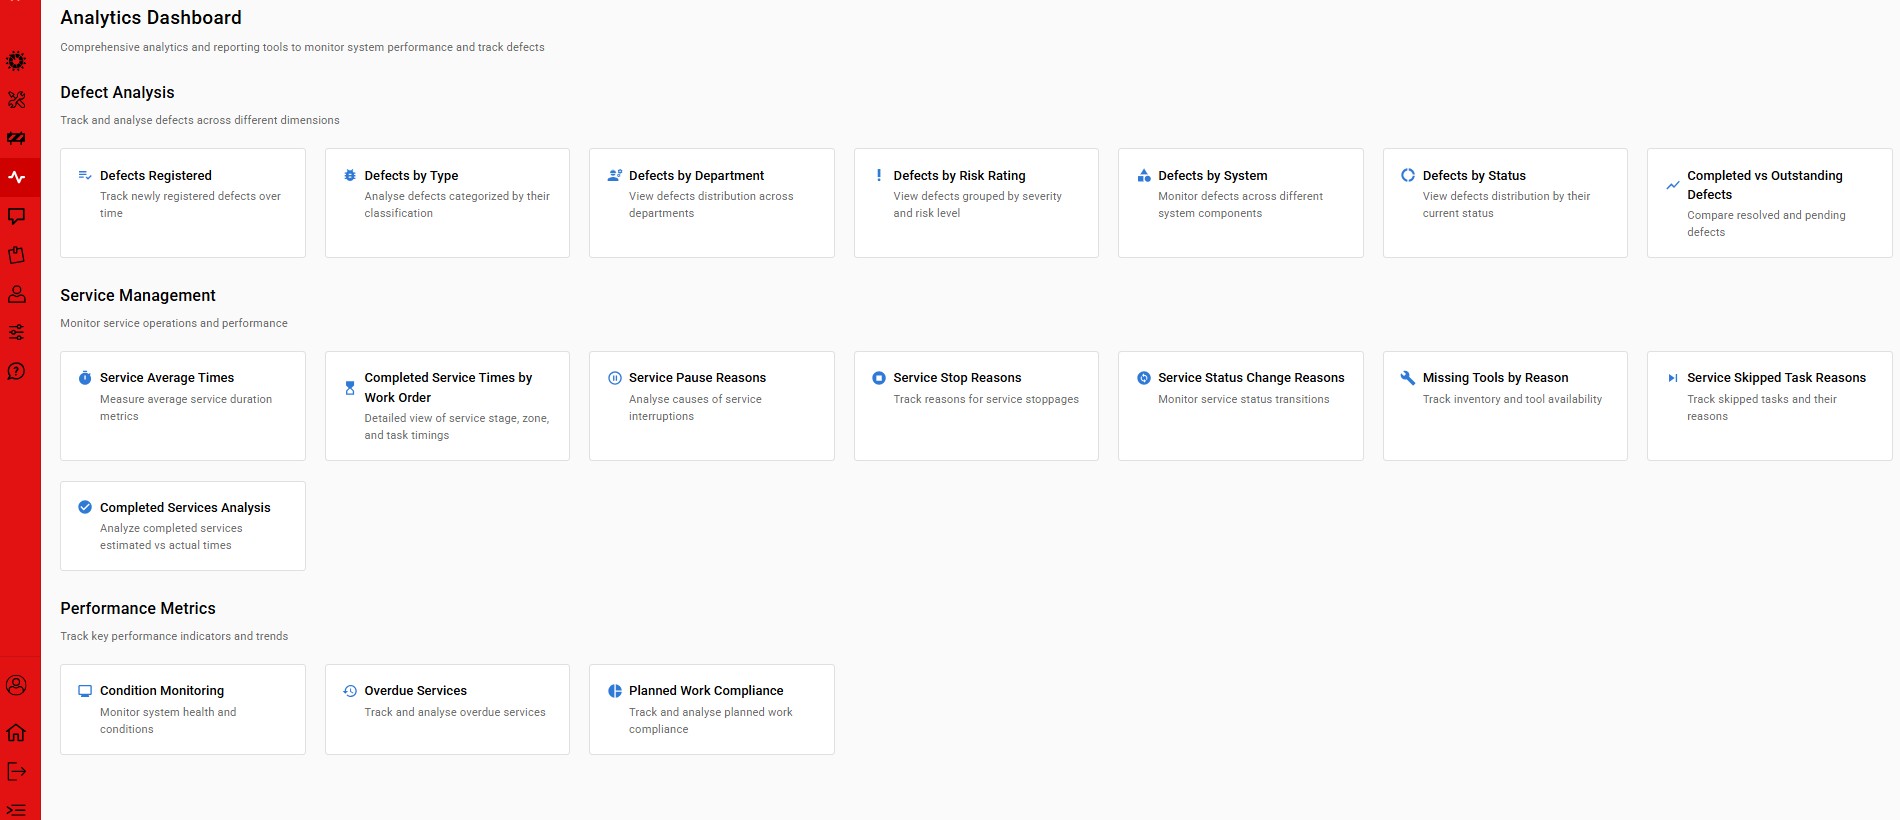
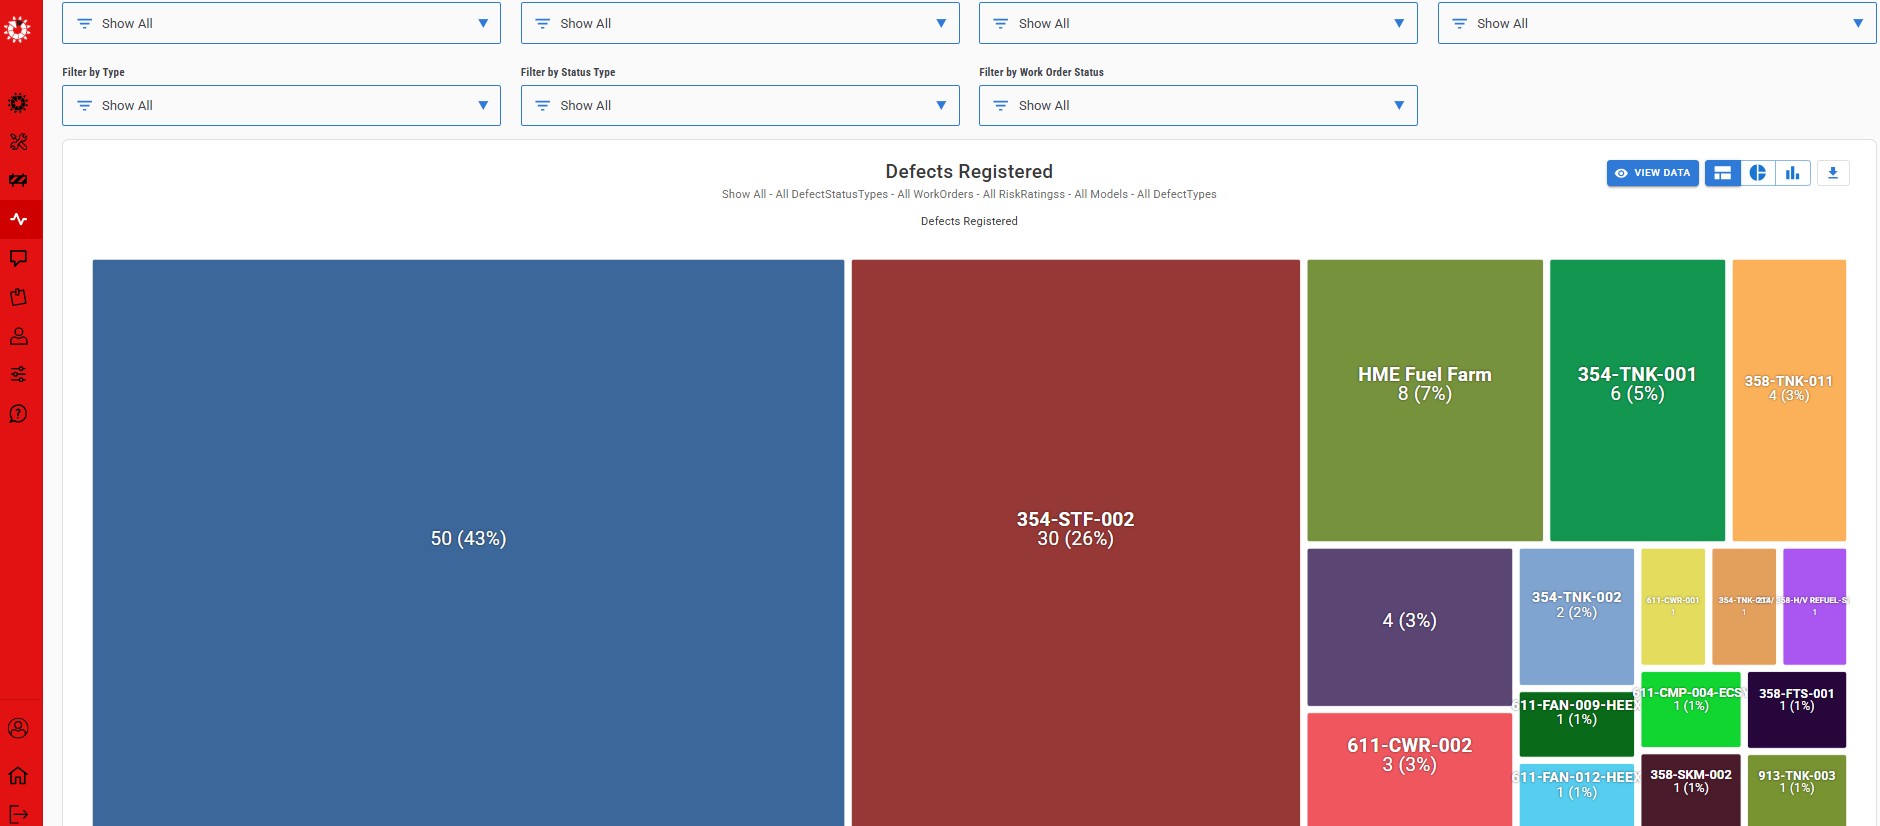
4. Analytics
With analytics you can see a graphical summary of all defects with a different view of the filters.
Drill into the bars to see the next levels of data.
View Data button, top right of screen will present the raw data in a tabular format where you can drill into the actual defect for specific understanding.
5. Tabular Details
Utilise the search chip feature to refine your tabular view of the available data.

6. Reports
View/Download the PDF and Excel reports from this list behind the print icon top right of the screen

7. Defect Acknowledgement Feature
Where the "Defect Acknowledgement" feature has been activated to the role, via the Site Application Settings/Policy Group, will see a change in the defects if a change of defect risk rating has been applied from the iPad application.
A green coloured shade will highlight that the defect has changed risk rating.
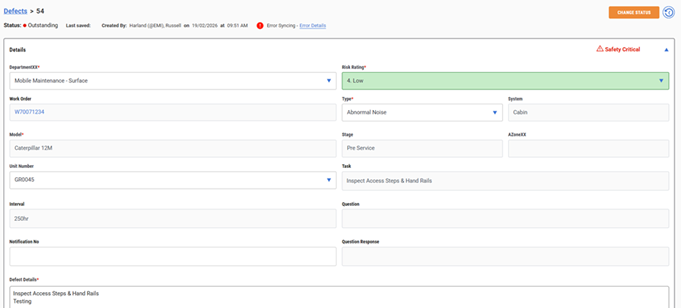
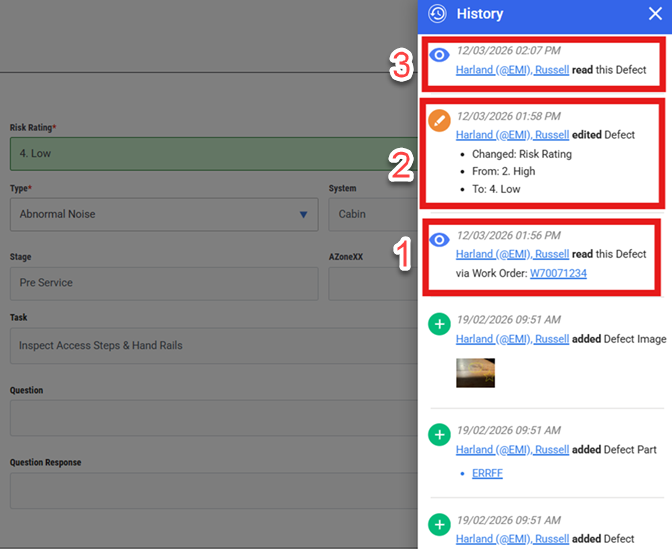
The risk rating field will be highlighted and the history will show who/when made the change.
1. Who viewed/read the defect on the iPad by person doing the job via which work order number
2. What change was made
3. Which person (with feature activation) viewed/read the defect via the web application
Once the defect has been reviewed by the person that has the role with this feature activated, the highlight will be removed. Others with the feature, will not see this highlight as it has been addressed by the initial person that reviewed this changed defect.
The intent of this is that this person needs to address the change or at least add notes to their actions in the defect notes section. This is making people accountable to addressing the change.
Additionally the person will see the alert indicator against the defect menu section of the number of changed defects that they should be aware of.
Was this article helpful?
That’s Great!
Thank you for your feedback
Sorry! We couldn't be helpful
Thank you for your feedback
Feedback sent
We appreciate your effort and will try to fix the article