Our Stage 3 of the overall application translation has been completed with this focused on the remaining non translated content within the application. This includes the site application settings tables where we have free text to populate dropdown lists and other fields.
Additionally, within this release is the model content translation to align with site regional language settings.
The value of this is to provide more than one language for site to share content with the different workforce preferences. Having the option to switch or align the same content to multiple languages is of great value to our international client base.
Below is the process of the changes that need to be applied before you start translating the model content.
The details within the article is the same for all applications.
Definition Tables
Within Site Setting and Site Application Settings there are many tables that need to be translated, either via the inbuilt AI translator or free text changes to align with the sites preferences. Both options are presented.
This feature only appears where there are more than one language (English) has been set in the Site Settings. To learn more about this refer to https://support.emi3.io/support/solutions/articles/51000528006-site-application-translation article in New Features.
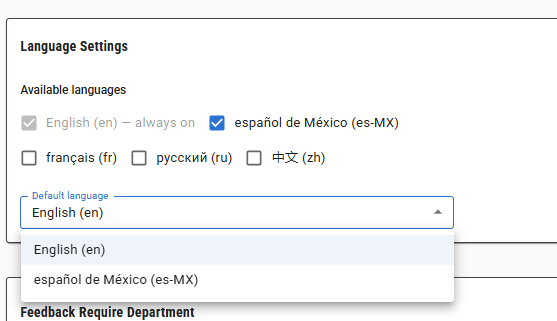
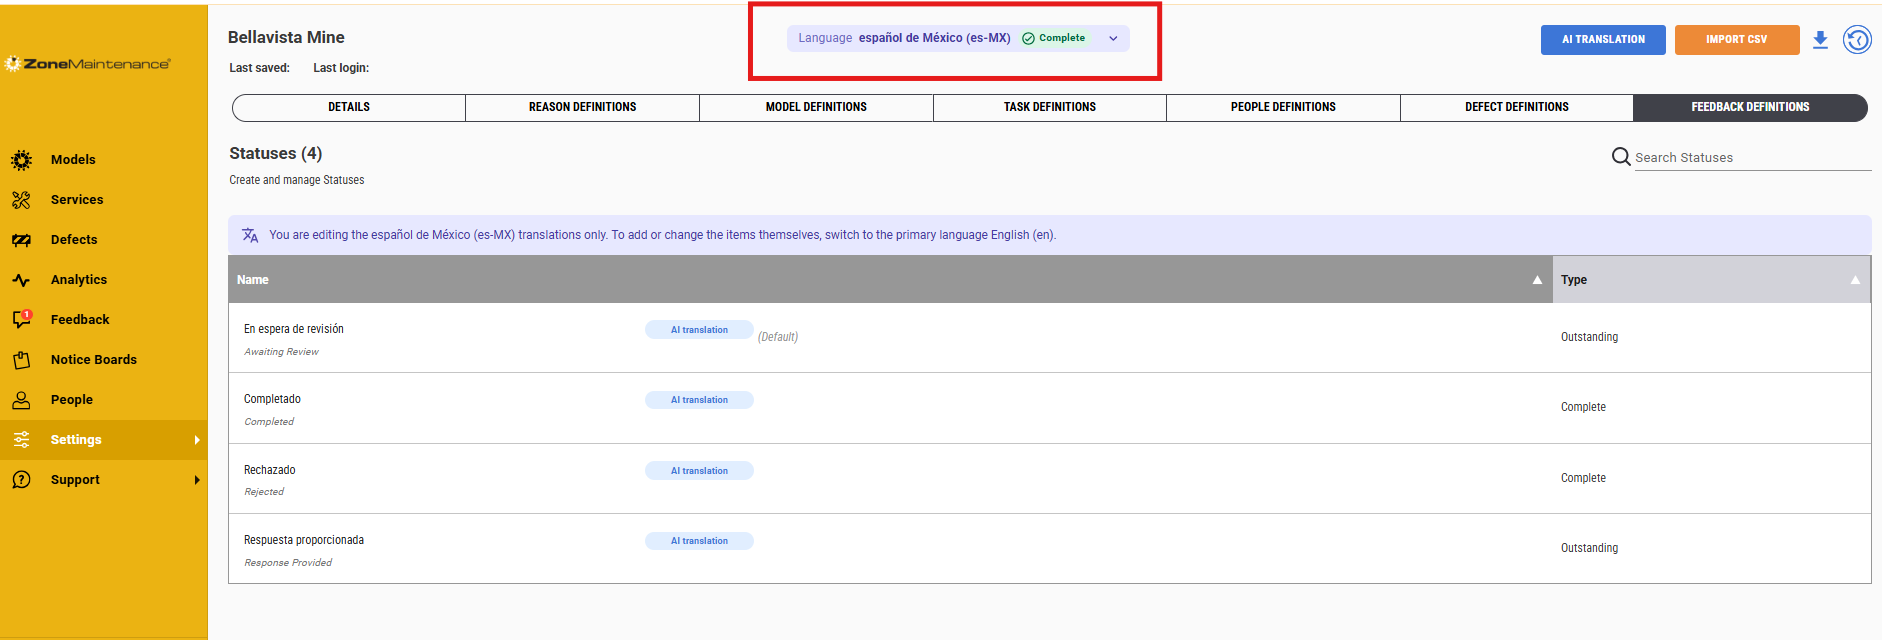
When you open the site settings and site application settings there is a new field at the top of the page showing the language options. Select the non English language to view the fields below to see if they have nee translated.
Site Settings

Select the language. This will show the number of untranslated fields within site settings.

Red dots will appear on the tabs and tab lists as to what sections have not completed the translation process.

Site Application Settings
Selecting the language, it to will show the number of untranslated fields within site application settings.
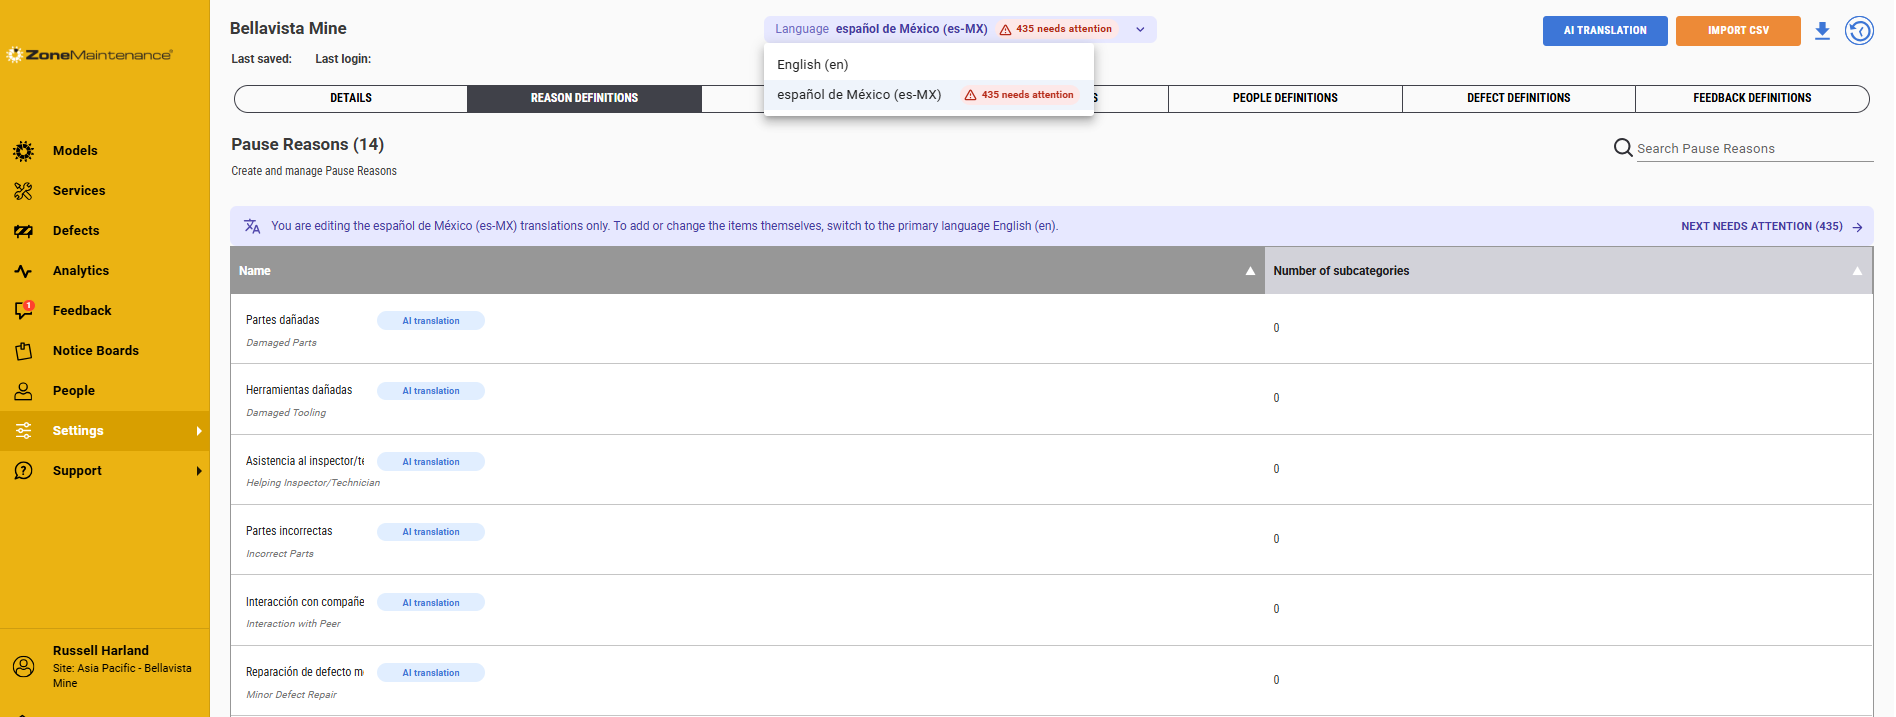
When you select the language, the screen content below will change.
Simply click on the AI Translator button top right corner of the screen. The tool will begin the field translation.
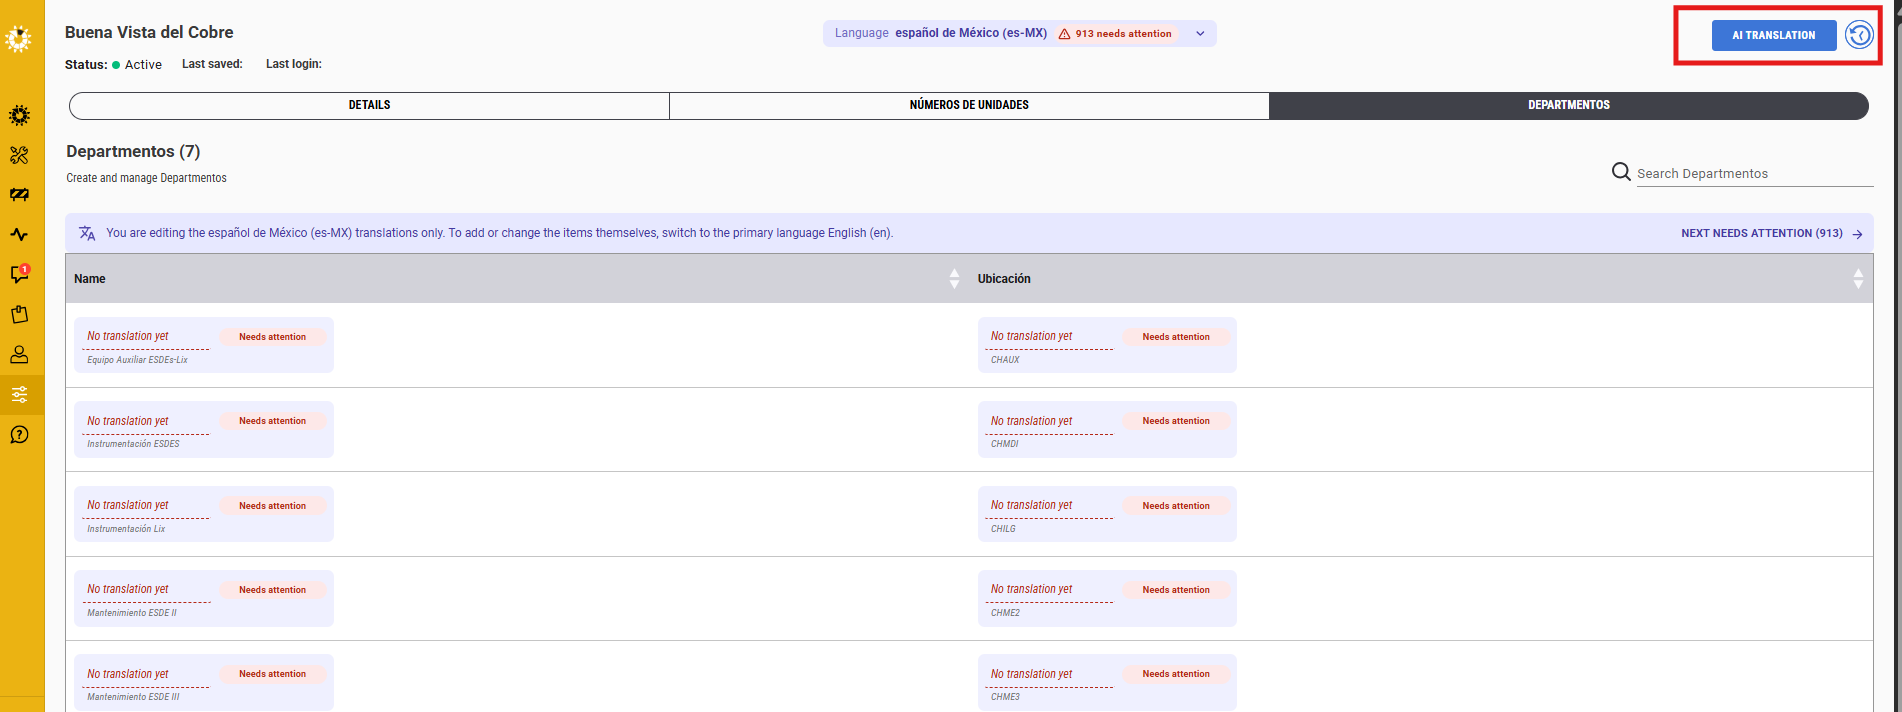
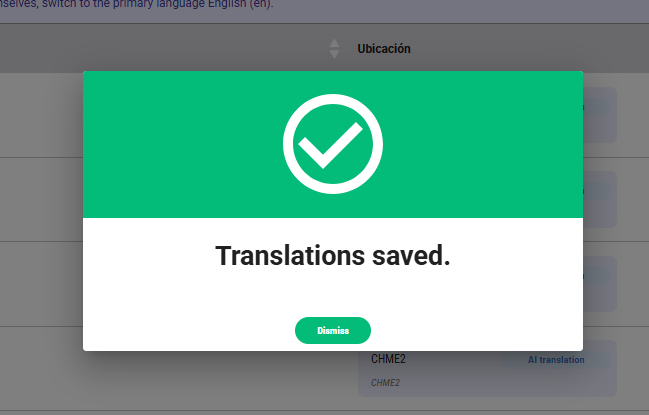
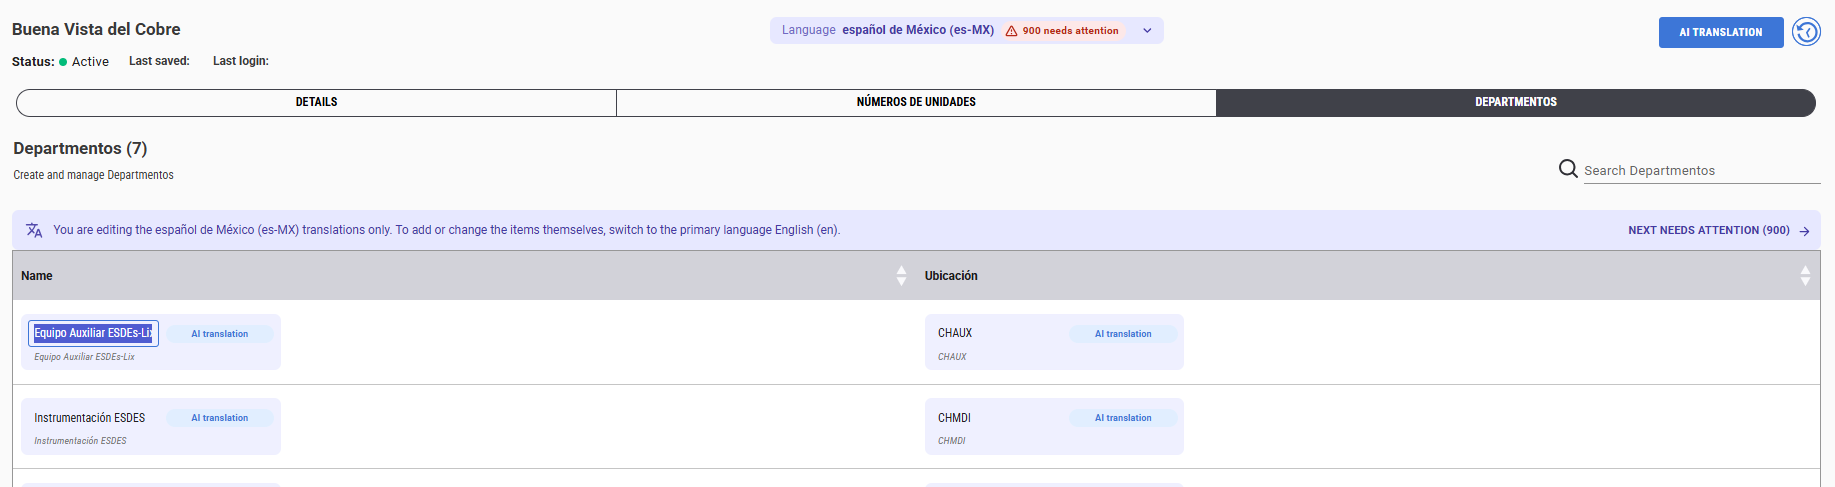
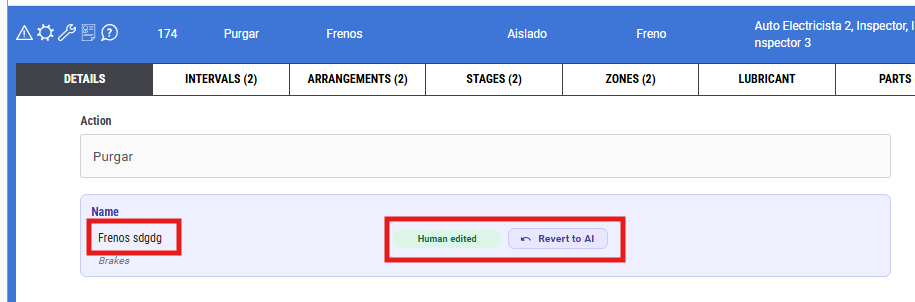
Review the translation and if you find a field that is not the correct translation, edit it by clicking on the cell and type the preferred word.
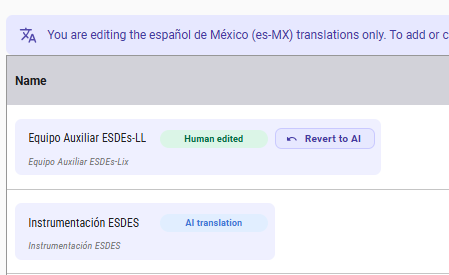
The field will show that the word has been translated by a human rather than AI.
You will need to apply this to each of the tabs in Site and Site Application Settings.
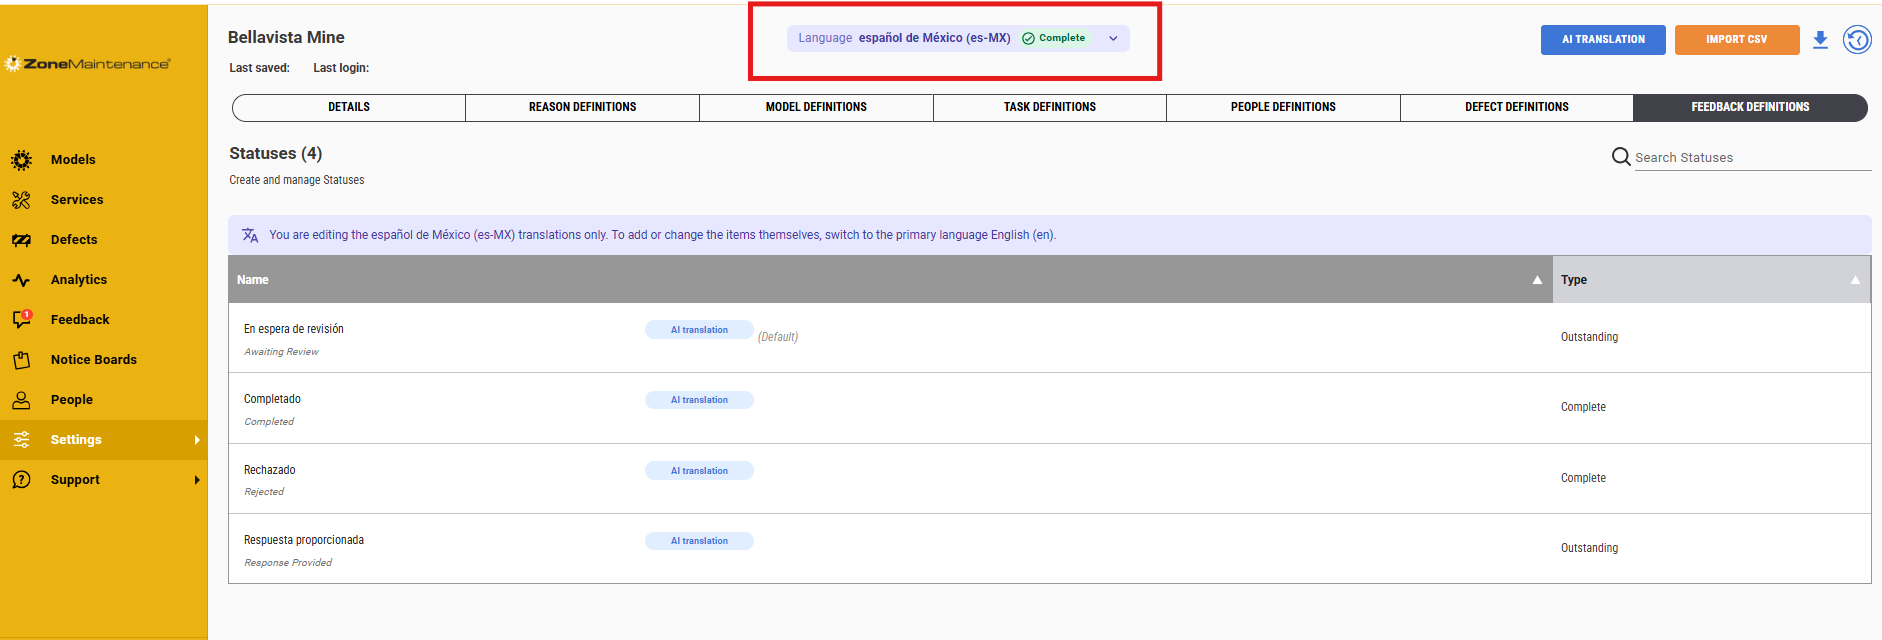
Once that is completed ther should be no fields needing attention alert in the top language selection dropdown.
Notice that in the top right hand side of the screen there is an option to export and import the information from this screen to be applied to another application on the same or different site. This is designed to share the changes made to others without having to redo this work manually. The process is very simple to follow. Download the csv from one and upload to another.
Model Translation
Once the above has been completed you can move to translating the existing models. The model needs to be a new version "In Development" to make the following changes.
With the selected model, scroll down the screen to show the Languages Box.
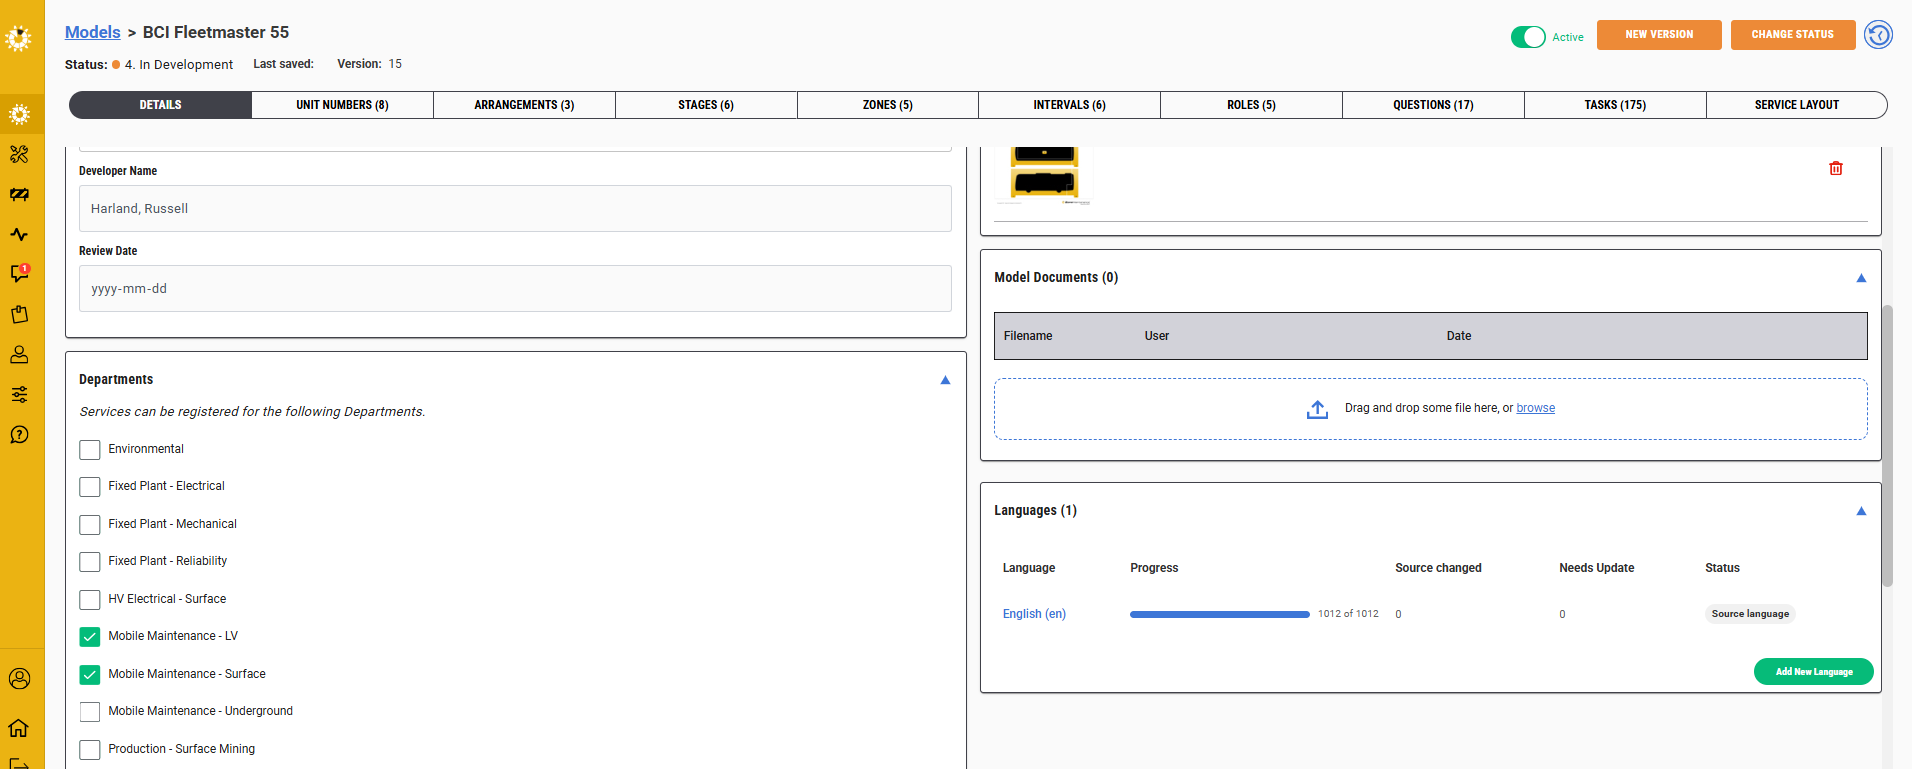
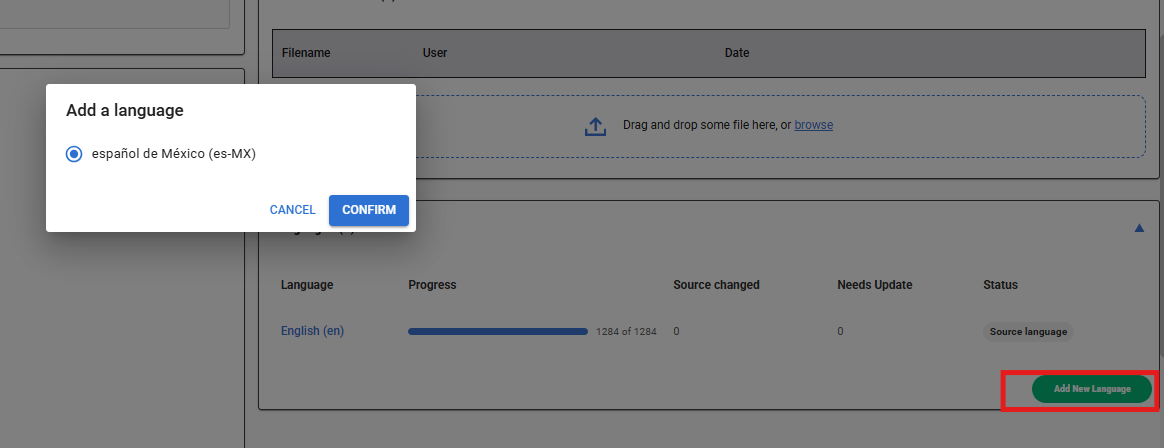
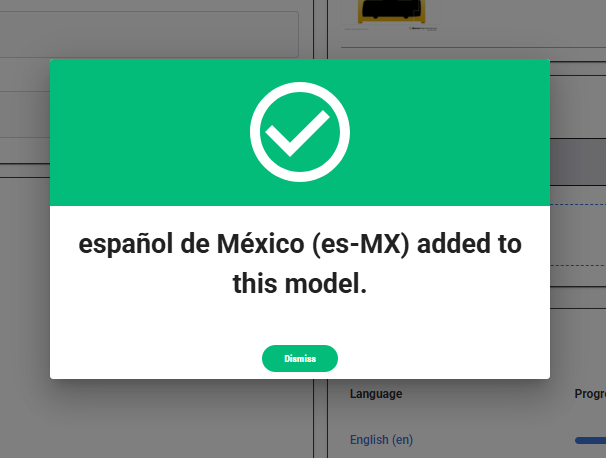
Add a new language to the model and confirm. More than one language can be selected.
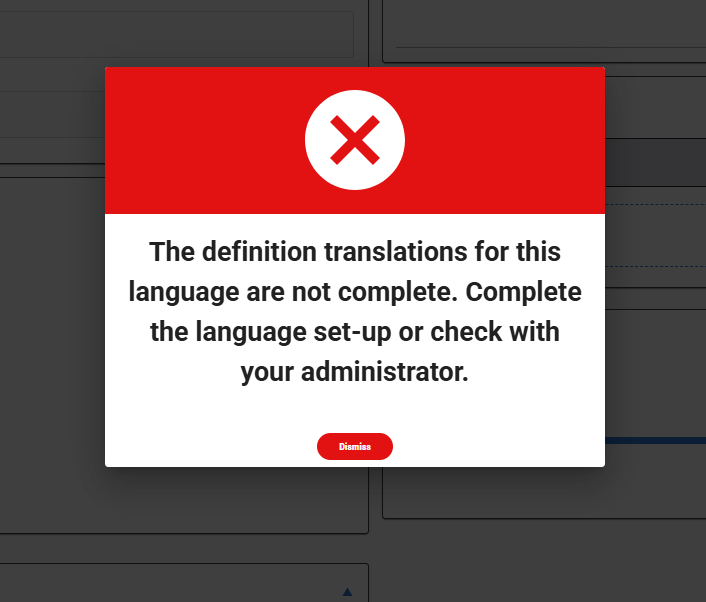
If you get this error message, it means that there are more than additional languages selected not yet been translated in the overall application.
It will take a little bit of time to complete the translation process across the model. All depends on the size of the model for the time to take to complete this process.
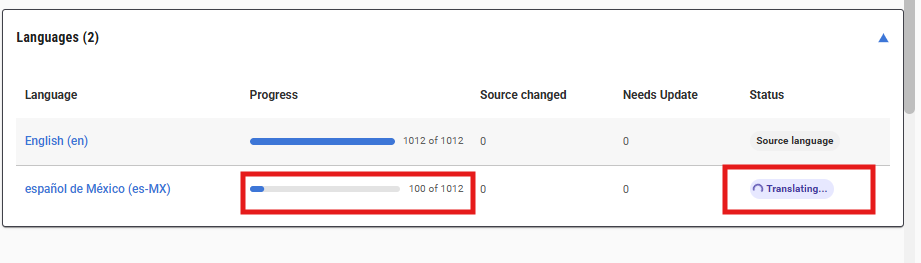
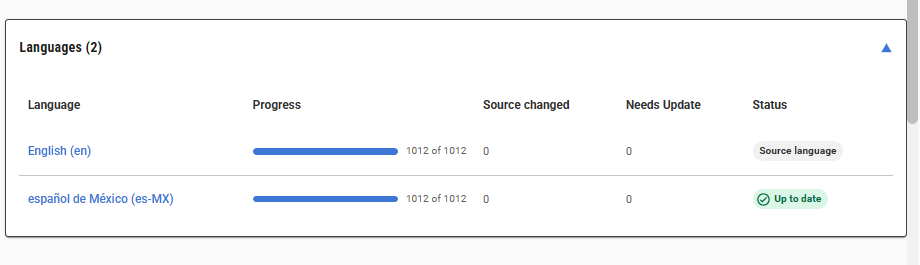
Now that it has translated, we can progress to the other tabs. Move through each tab to see if there are any alert messages or translations that need to be changed for site terminology reasons.
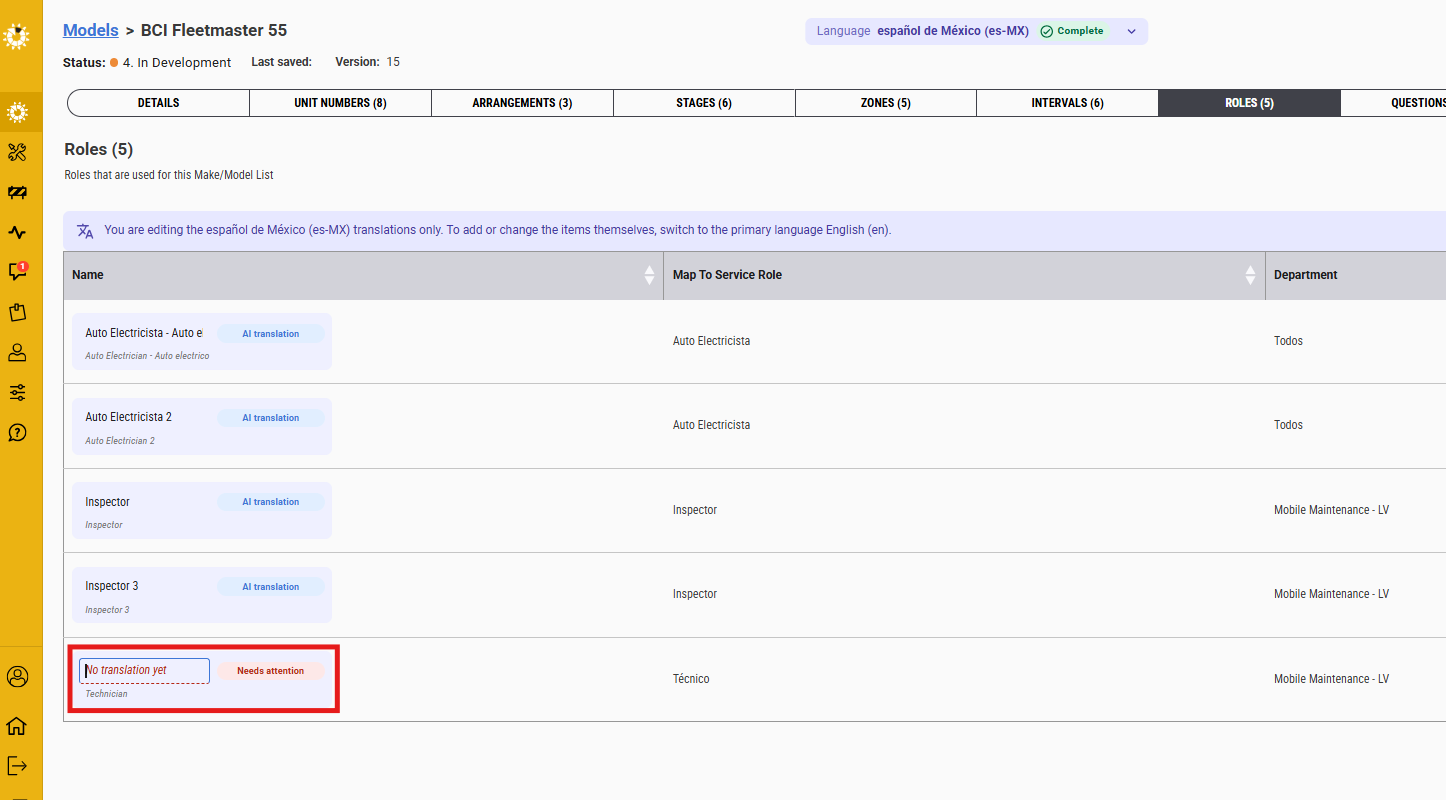
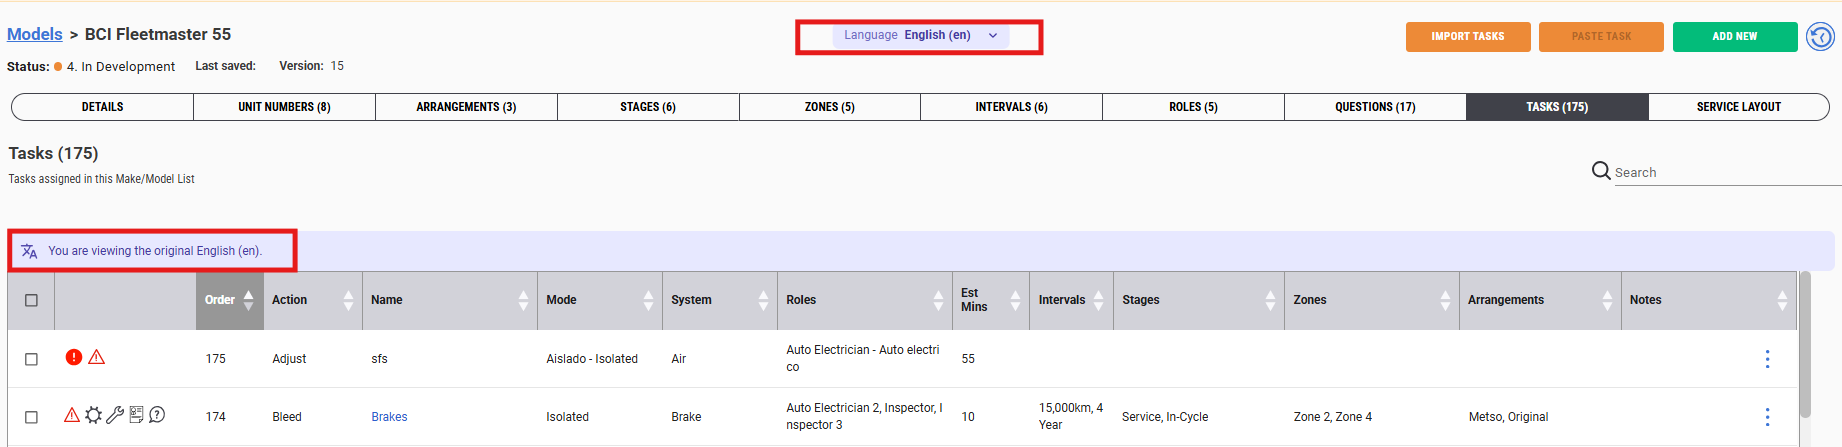
Once you come to the Task tab review the content in the tasks list. Ensure that you have the correct language selected.
Note: You can only make changes to the model in it's original language and check the translation by selecting/deselecting the language option at the top of the screen. Adding or editing task details will need to be applied to the original.
When you select a task there will be dual languages shared with each of the free text fields.
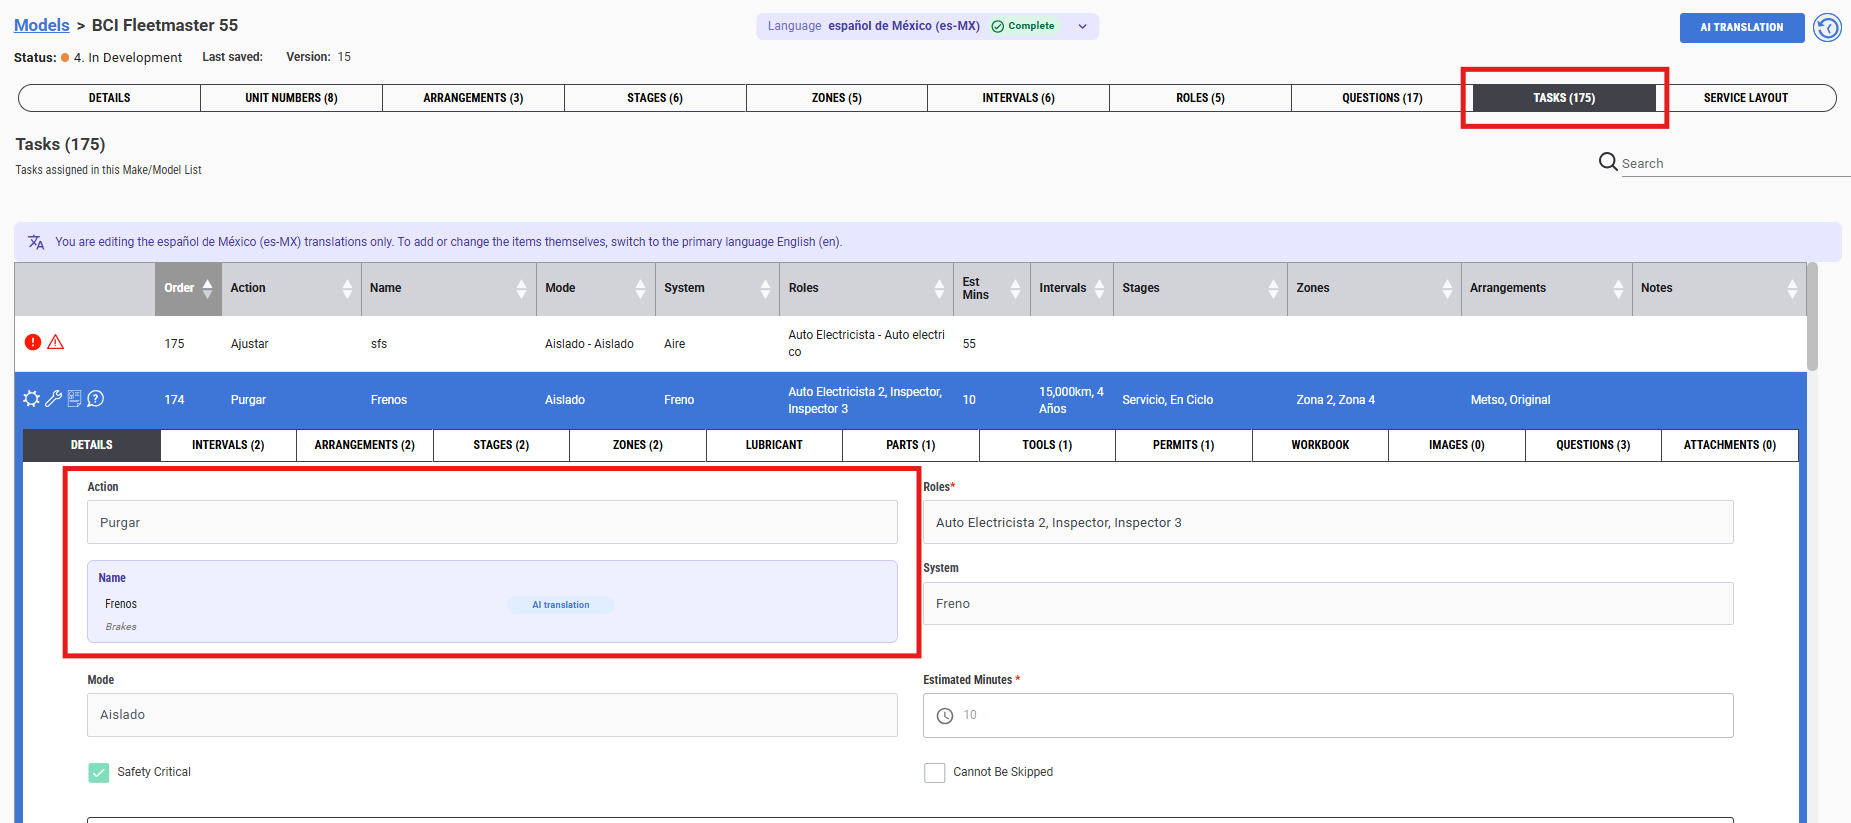
Click on the field to change the translation. The original language will be presented underneath.
With the Workbook section of the tasks, it will have sections for each field which shows the translated and original language text. You can translate the content again with the AI Translator button top right of the screen.
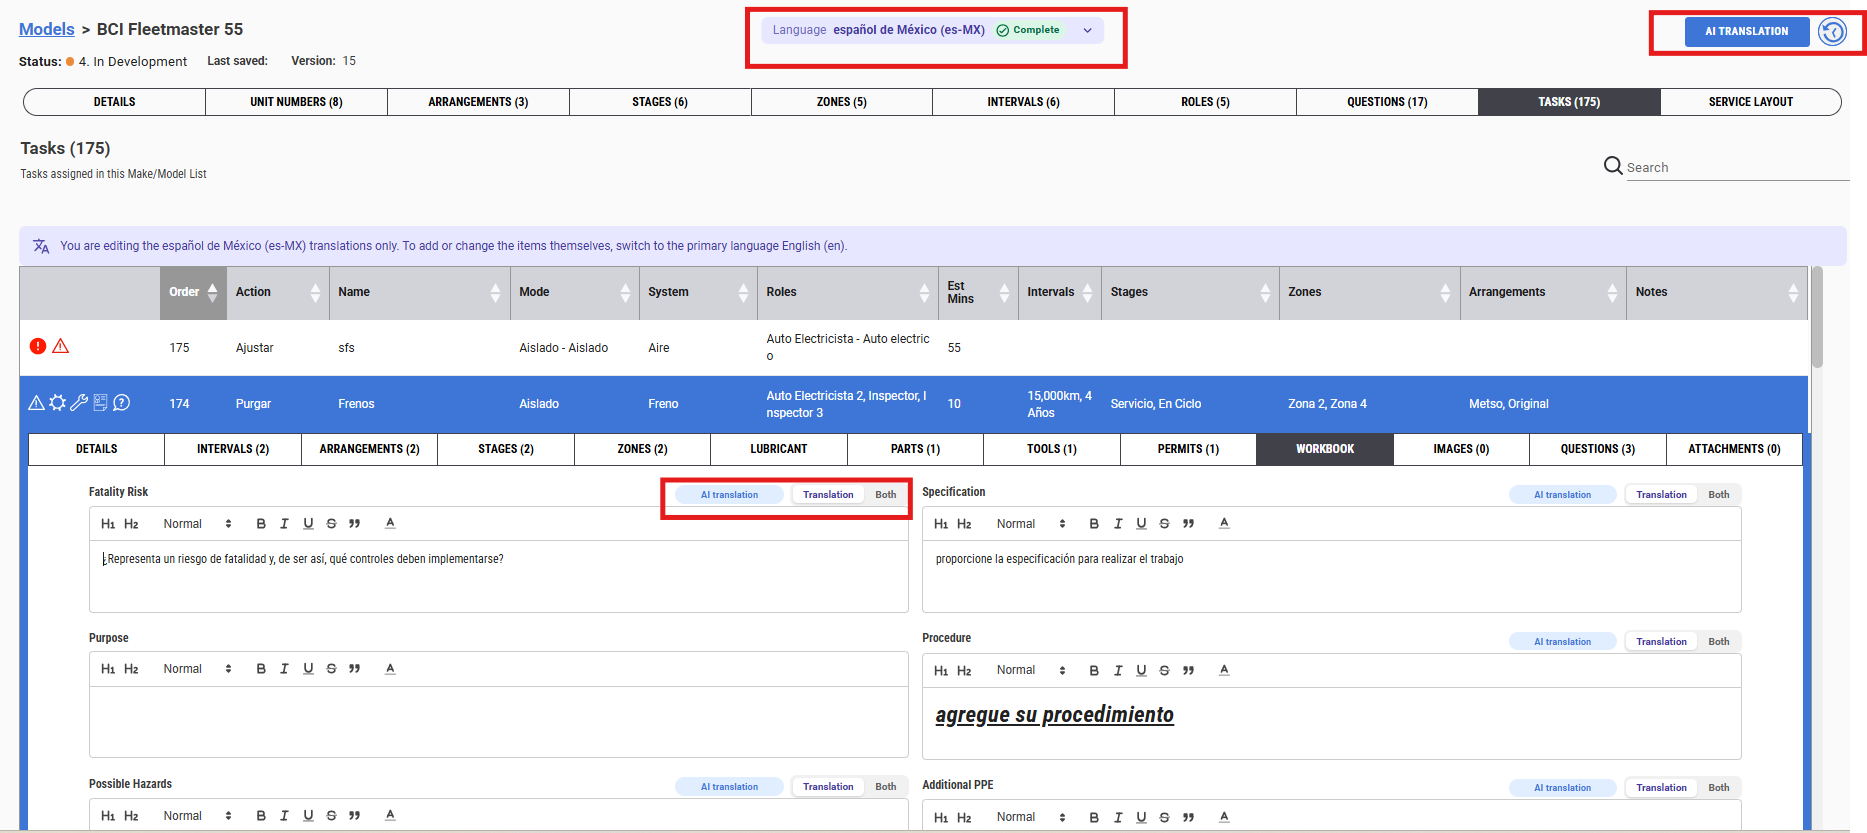
Select both button to see the original language text.

When you are happy with the translation you can make the model published again.
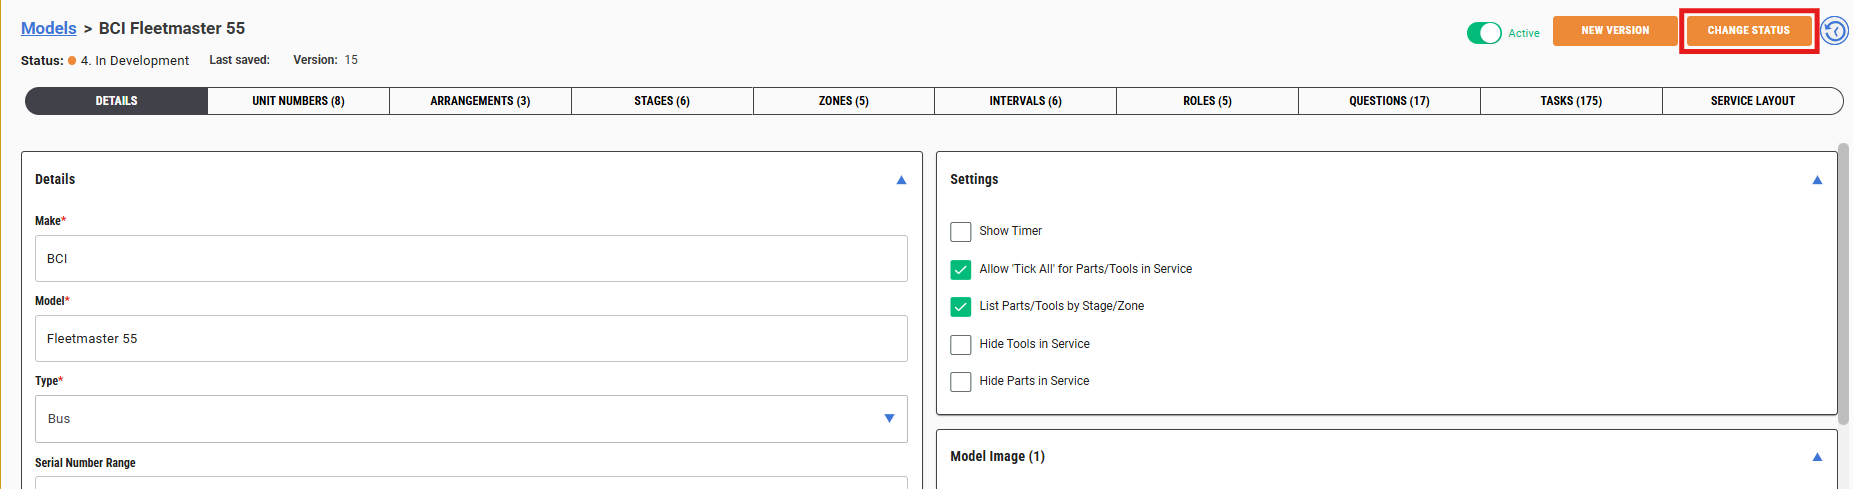
If there are fields that have not been translated then there will be a popup message indicating that the model cannot be changed until these have been addressed.
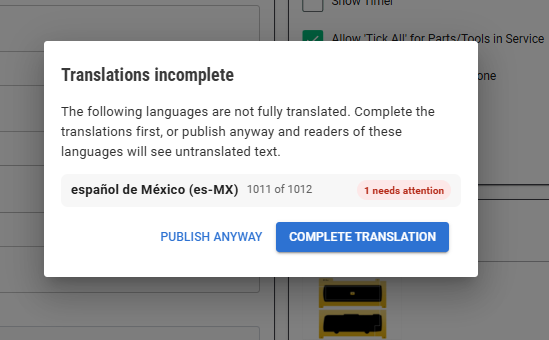
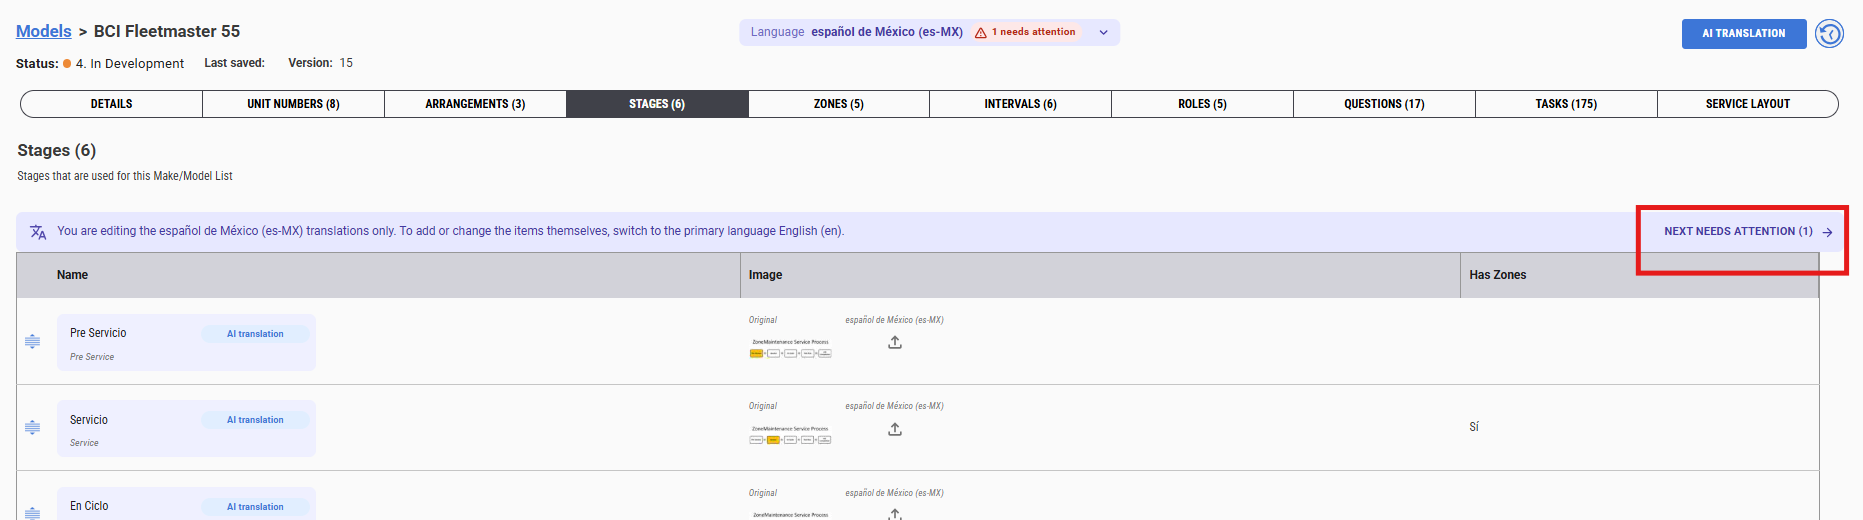
Along the highlighted bar there is a Next Need Attention button. Click on this to take you to the location of the untranslated text. Address this point and return to the details page to start the change of model status to Published to complete the overall process.
Was this article helpful?
That’s Great!
Thank you for your feedback
Sorry! We couldn't be helpful
Thank you for your feedback
Feedback sent
We appreciate your effort and will try to fix the article